
Propane:
Energy for Everyone
Everyone deserves access to clean, affordable, reliable energy.
Propane and renewable propane reduce carbon emissions while reliably meeting energy needs in homes, businesses, farms, and on the road. That’s why propane is the energy for everyone.

Propane and renewable propane are trusted energy in places where people and nature coexist in a delicate balance, like national parks and sensitive habitats. This Earth Day, we celebrate the non-toxic, nature-friendly Energy for Everyone.
Why Propane?
Clean
Propane and renewable propane are low-carbon energy sources that produce fewer emissions than the equivalent amount of electricity generated from the U.S. grid.
Safe
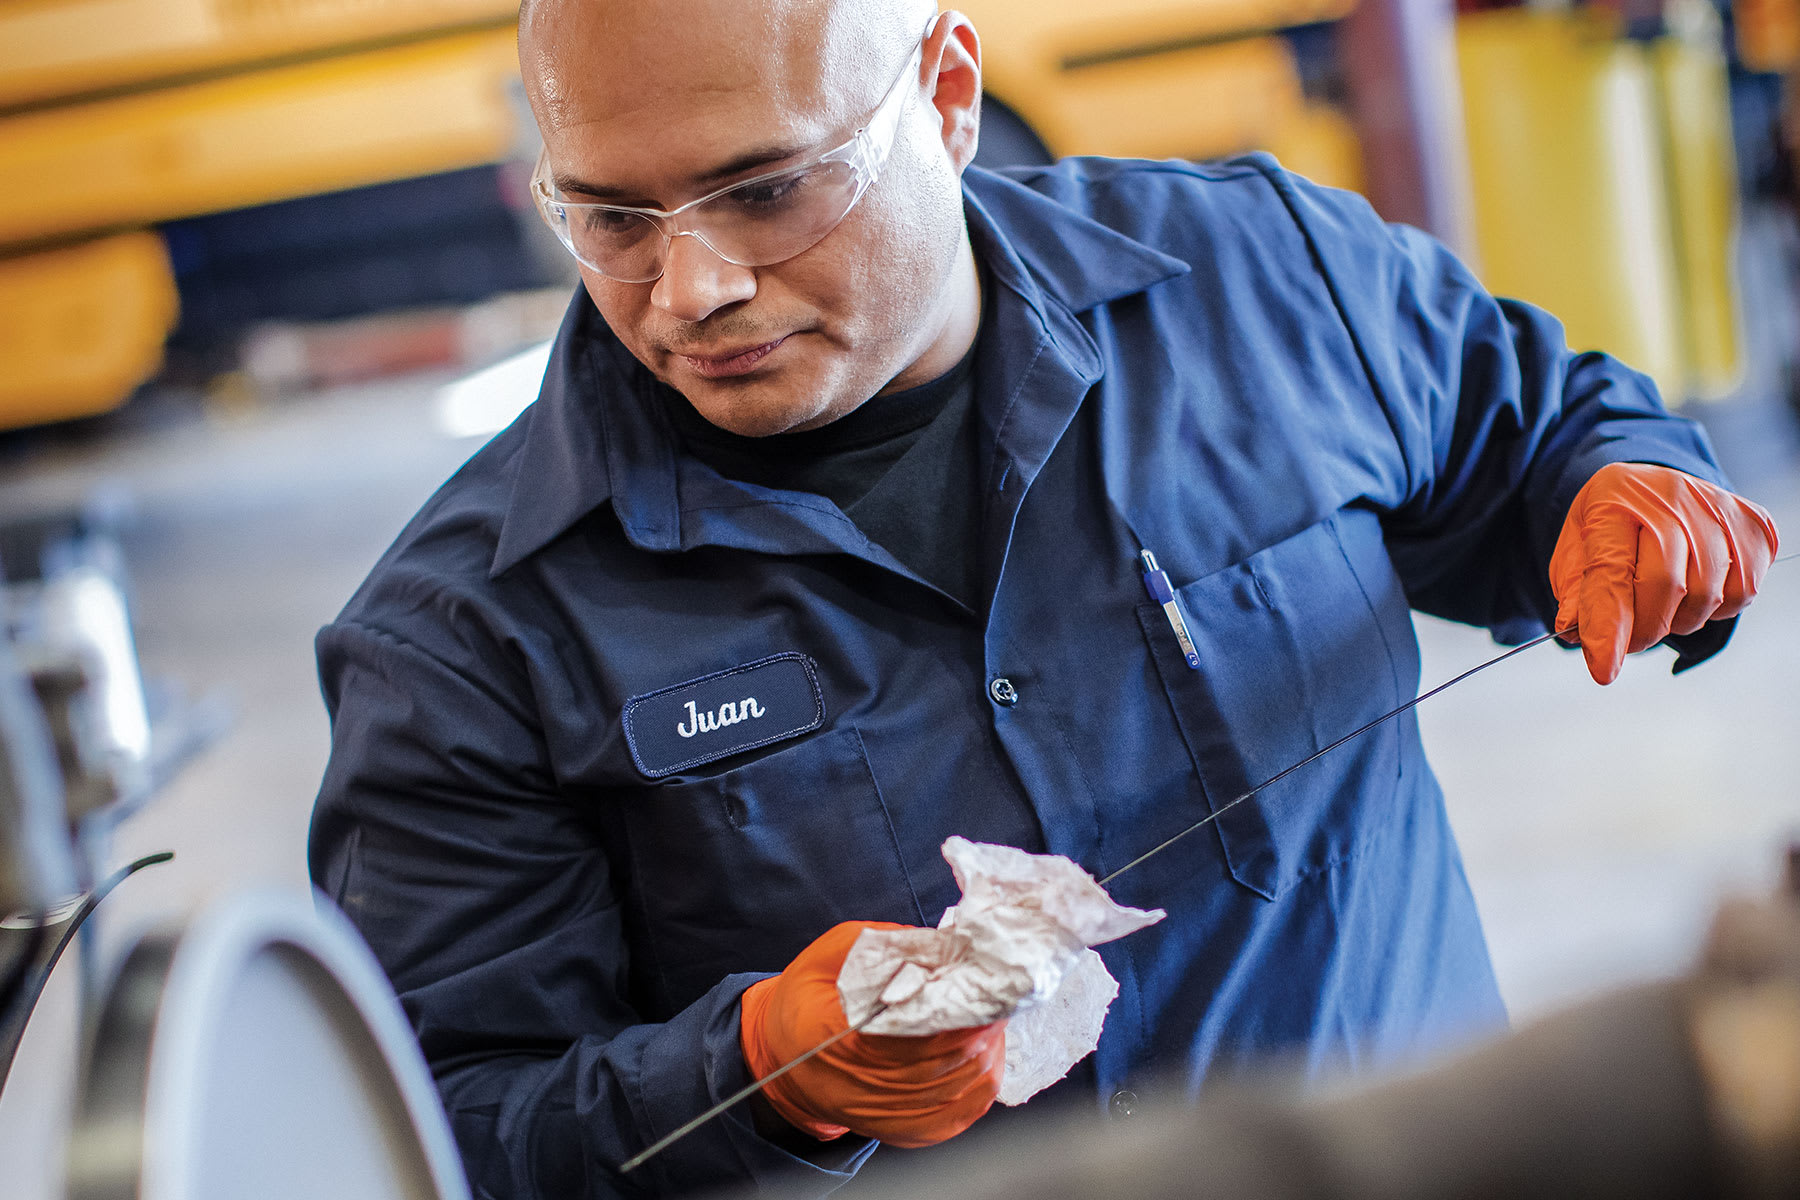
Propane is recognized as a safe fuel when handled, stored, and used in accordance with industry-standard safety guidelines and practices.
Reliable
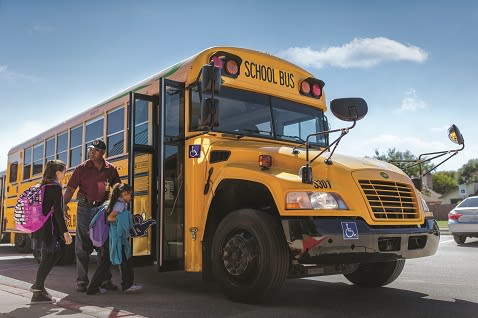
Millions of Americans rely on propane for resilient, always-on energy that is independent from the electric grid.
Affordable
Propane can reduce energy bills for both families and businesses. Plus, propane equipment generally lasts longer than electric models, making it more cost-effective.


Explore More


Propane for the Future


Propane News


